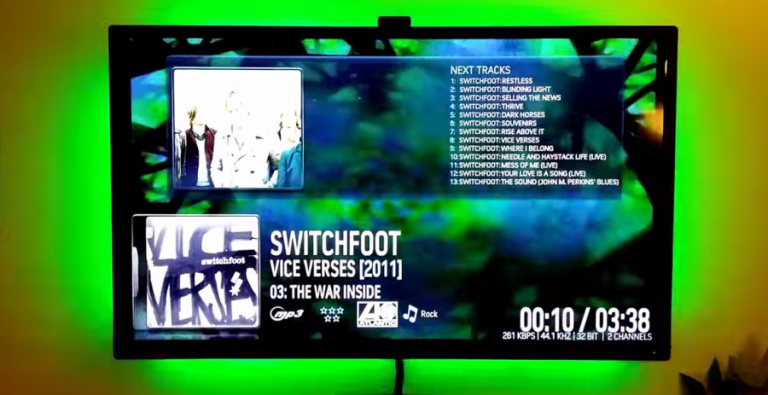
Have you ever wanted a high-tech entertainment center from the future? I used to dream of a time when all my electronics talk to each other and work together in an orchestrated display of awesomeness! In this guide, I’m going to show you how to make XBMC (now Kodi) trigger Z-Wave scenes (like changing the colors of my LED lights). Watch my video below where I’ve demonstrated what this looks like and then read on to learn how to do it.
What I’ve Already Covered
This guide requires the use of a Vera Z-Wave home automation system. If you don’t have this yet, check out my review here.
In a previous guide, I covered how to control IR devices with Z-Wave. If you want to have XBMC trigger Z-Wave scenes that control AV devices via infrared (IR), then you will need to read that guide first. Otherwise, if you want XBMC to control scenes that you already have set up, read on.
This next one isn’t a prerequisite, but you probably noticed in my video how I had Z-Wave turn my LED lights on an off using my Xbox One. If you’re interested in that, go here.
How XBMC/Kodi Triggers Z-Wave Scenes
This integration was actually quite simple. I discovered a Vera plugin called XBMC State and an accompanying XBMC add-on called MiCasaVerde State.
In your Vera’s MiOS control panel, go to Apps > Install apps and search for XBMC. You will find the XBMC State plugin/app. Install it to your Vera. Once Vera’s Lua engine has restarted, you should see a new device called XBMCState. Edit the device, go to the Advanced tab, and enter the IP address of your XBMC. Also take note of your Vera IP and the XBMCState device ID.
Next, go to this thread, download the add-on zip file and install it on your XBMC. (If you use Safari, be careful because it automatically unzips the file and XBMC will give an error when you install it)
Now go to the new add-on’s settings, enter the Vera IP, XBMCState device ID, select yes for all the events that interest you, and save your settings.
Restart XBMC. When you change the IP address and device ID, you have to restart XBMC to take effect.

Now that the Vera plugin and XBMC add-on are up and running (and hopefully communicating), then you can create some scenes for XBMC to trigger.
While creating or editing a scene on the Vera, click the Triggers tab, add a Trigger, select the XBMCState device, and then you will have lots of trigger events. These trigger events are grouped as XBMC, Player, or Ping State Changes.

Here is the list of all events that can be triggered:
- Music started
- Video Started
- Music paused
- Video paused
- Music resumed
- Video resumed
- Music stopped
- Video stopped
- Music ended
- Video ended
- Home menu
- Video menu
- Music menu
- Weather menu
- Setting menu
- Program menu
- Picture Menu
- Music and video title of the file that is actually playing is also showed.
Success!
With this XBMC Z-Wave integration, you can now program whatever Z-Wave scenes you want based on what screen XBMC is on or whether you’re playing a video or music. You can even have it do something cool when it’s paused (like the slow color fading setting I used).
Do you have any cool ideas of how you can use this integration? Share in the comments or tweet me @natekinkead.
Enjoy your ultimate entertainment center from the future!


[…] How to make XBMC/Kodi control Z-Wave scenes […]
[…] XBMC/Kodi & Z-Wave Integration Guide [Video Demo] […]
[…] Kodi & Z-Wave Integration Guide [Video Demo] […]
Thank you so much for this!!!!
You’re welcome! Thanks for reading.